How to Clean Silver: The Pros and Cons of Different Methods
 Cleaning and caring for silver is essential for its preservation and appearance. While many consider it a chore, regular maintenance is the best way to ensure silver retains its decorative appeal and value. There are several approaches, and each has its own merits and drawbacks. Below, we explore the three most common cleaning methods, along with expert guidance on how to avoid damage and get the best results.
Head of the Silver & Objects of Vertu department John Rogers shares his expertise on how to clean silver. He considers three different methods and weighs up the pros and cons of each.
“The cleaning and care of silver is so important for its preservation and to maximise its decorative appeal. It need not be the odious and laborious task it is often considered to be.” – John Rogers, Head of Silver & Objects of Vertu
The Essential Starting Point: Goddards Silver Cloth
Regardless of the cleaning method chosen, a Goddards silver cloth is always recommended. This gentle cloth is ideal for removing light, everyday tarnish without mess or abrasion. It’s especially useful for silver displayed in open air, which naturally begins to tarnish as it reacts with sulphur and compounds in the environment.
“Silver that is not behind glass will always tarnish lightly over time. A good cloth can easily keep this under control.” – John Rogers
Method 1: Proprietary Silver Polish (e.g. Silvo)
Pros:
Effective for heavily tarnished silver
Particularly useful for pieces with mixed materials, like wooden-handled teapots
Suitable for removing deep surface stains
Cons:
Can abrade the surface and remove a small amount of silver
Over-polishing reduces the clarity of hallmarks and engraved decoration
Excessive use can lead to thinning and even holes in areas of high relief
Messy to apply and requires multiple cloths to finish
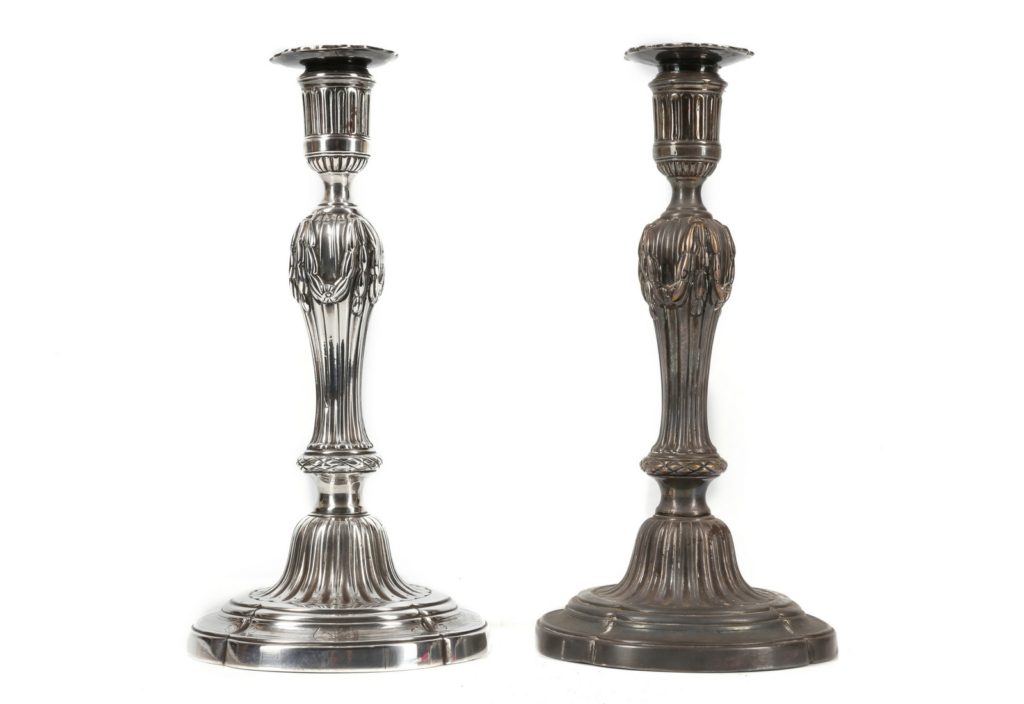
“A George III teapot with smudged hallmarks or worn bright-cut decoration from over-polishing will be worth significantly less than a well-preserved example.”
Application Tip:
Wear gloves, apply Silvo using a cloth, remove residue with a second cloth, and finish with a silver cloth for shine.
Method 2: Home Electro-Cleaning (Bicarbonate of Soda and Aluminium Foil)
This natural technique uses electrolysis to lift tarnish without abrasion. Line a bowl with shiny aluminium foil, add a tablespoon of bicarbonate of soda, place the silver item inside and cover with boiling water. Leave for ten minutes, remove, rinse, and wipe clean. Repeat if needed, then polish with a silver cloth.
Pros:
Non-abrasive and gentle on silver
Ideal for batch cleaning and hard-to-reach areas
Effective on flatware or lightly engraved items
Cons:
Can leave silver looking overly pale or ‘bleached’
May not achieve a full shine without follow-up polishing
"A good option is to combine cleaning options, using this method followed by Silvo.'"- John Rogers
Method 3: Silver Dip (e.g. Goddards Silver Dip)
This chemical dip is best for very stubborn tarnish or deeply recessed areas. Dip the item briefly into the solution while wearing gloves, gently wipe while submerged, then rinse and dry thoroughly.
Pros:
Fast and highly effective for deeply tarnished pieces
Reaches into crevices and detailed areas
Cons:
Can dull the silver’s appearance and requires further polishing
Harsh and malodorous
Damaging with repeated use, softening decoration and wearing away hallmarks
“Use this method only for problematic pieces and not as a regular routine.”
Caution: Salt and Pitting
Salt is corrosive to silver. It should never be left sitting in silver containers. Salt cellars often feature glass liners or gilding for protection. Always rinse silver after use.
When salt or a similar substance is left in contact with silver for too long, pitting of the surface occurs. This can become a permanent marring of the surface known as salt disease.
'Pitting can only be helped by a professional chemical cleaner and in terms of re-polishing, approach a a specific silver restorer.' - John Rogers
Looking to value your silver?
Contact our Silver department for a free and confidential valuation.
Get in touch with Head of Department John Rogers at john.rogers@chiswickauctions.co.uk or submit an Online Valuation today.